How to Create Custom Shelves with Rotary Tools
Key Takeaways
- Using rotary tools allows for precise cuts and detailing when creating custom shelves.
- The right accessories can enhance the versatility of your rotary tools.
- Follow a step-by-step guide to ensure your shelf building process is smooth and efficient.
- Be mindful of safety practices when operating power tools.
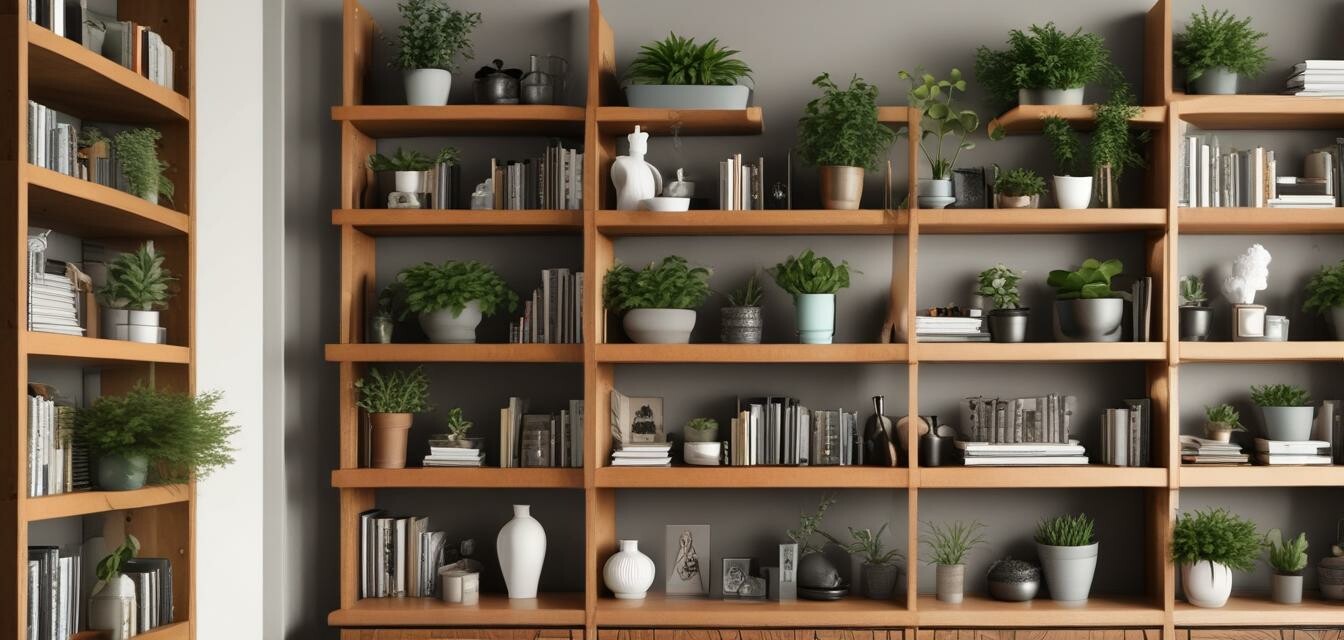
Creating custom shelves can greatly enhance your home organization and aesthetics. Whether you want to display books, plants, or decorative items, rotary tools are essential for crafting unique shelving solutions. This guide provides an overview of design ideas, materials needed, and step-by-step instructions on creating your own custom shelves using portable rotary tools.
Why use rotary tools for shelving?
Rotary tools are versatile and perfect for detailed work. They enable precise cuts, engravings, and sanding, which are crucial when creating custom shelves with unique designs. Here are some specific benefits of using rotary tools:
- Precision: Achieve detailed cuts and intricate designs.
- Versatility: Compatible with numerous attachments for various tasks such as cutting, sanding, and polishing.
- Portability: Easy to move and handle, ideal for DIY projects in different locations.
Essential materials and tools
Before diving into the project, gather the necessary materials and tools:
| Materials | Description |
|---|---|
| Wood (plywood, MDF, or solid wood) | The primary material for your shelves. |
| Wood screws | Used to secure the shelves to the wall or brackets. |
| Wood glue | For additional strength in joints and edges. |
For tools, you will need:
- Rotary tool (like the DEPSTECH 12V Cordless Rotary Tool for its power and precision)
- Cutting attachments
- Sanding attachments
- Clamp or vise
Step-by-step instructions
Step 1: Plan and design your shelves
Decide the purpose of your shelves and where they will be placed. Sketch a design that fits your needs, including dimensions for length, width, and height. Consider using design software for accuracy. Some ideas for shelf styles include:
- Floating shelves
- Corner shelves
- Brackets with wooden boards
Step 2: Gather your tools
Ensure that you have all your tools ready, including your rotary tool, clamps, and any additional equipment required for the installation. A fantastic option for a rotary tool to consider is the DEPSTECH Cordless Rotary Tool Kit, which comes with numerous accessories that can aid in your project.
Step 3: Cut the wood to size
Using your rotary tool equipped with a cutting attachment, carefully cut the wood pieces according to your design. Always measure twice and cut once. Use clamps to secure the wood for added safety while cutting.
Step 4: Sand the edges
Once the wood is cut, switch to a sanding attachment and smooth out all edges. This not only improves aesthetics but also ensures safety by eliminating sharp edges.
Step 5: Assemble the shelves
Using wood glue and screws, assemble the shelves. For enhanced durability, apply wood glue to joints before securing screws. Allow the glue to dry completely before proceeding to the installation phase.
Step 6: Install the shelves
Determine where your shelves will be mounted on the wall. Use a level to ensure they are straight, mark the locations, and drill holes into the wall. If necessary, install wall anchors for added support. Secure your shelves to the wall using screws or brackets.
Safety tips
Working with power tools requires safety precautions:
- Always wear protective gear, including safety glasses and gloves.
- Keep your workspace clean and organized to prevent accidents.
- Read the manual for your rotary tool and familiarize yourself with its operation.
 Powerful and portable
HASIENDA 2 Gallon Air Compressor
Lightweight design with powerful capabilities, this air compressor is perfect for various DIY tasks.
See ProductConclusion
Create beautiful custom shelves using rotary tools to enhance the functionality and style of your home. With careful planning and execution, you can achieve professional results. Embrace your creativity and make DIY projects like shelf building easy and enjoyable!
Tips for beginners
- Start with simple designs to build your confidence.
- Practice using rotary tools on scrap wood before starting your main project.
- Seek inspiration from online resources and DIY communities.
For more DIY project ideas, visit our DIY Projects section.